What Are the Steps Involved in a Bathroom Renovation on the Central Coast?
By Gosford Bathroom Renovations
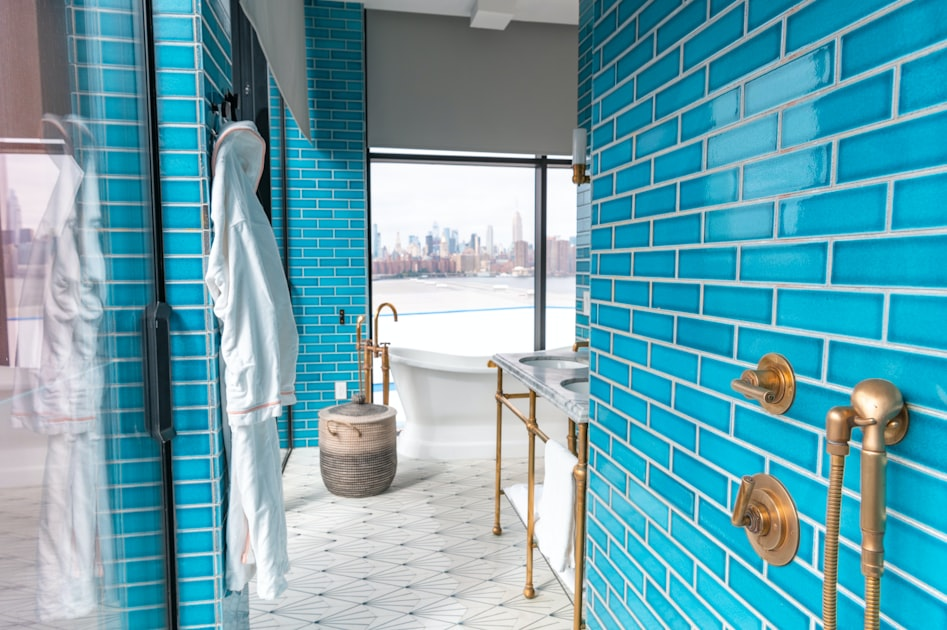
One thing I absolutely love about bathroom renovations is watching the transformation unfold step by step. It’s like watching one of those home makeover shows — except instead of dramatic music and staged reactions, it’s your own bathroom getting a glow-up right in front of your eyes.
But here’s something most homeowners don’t realise: bathroom renovations aren’t just about smashing tiles, installing a fancy shower and calling it a day. There’s a LOT happening behind the scenes — planning, approvals (sometimes), waterproofing, plumbing rough-ins, tiling, carpentry, electrical, fit-off… the list is longer than a Bunnings receipt.
If you live on the Central Coast — whether in Gosford, Terrigal, Wamberal, Avoca, The Entrance, Bateau Bay or anywhere in between — the overall renovation process is generally the same. What changes is how well it’s managed.
In this article, I’ll walk you through the full step-by-step bathroom renovation process, from the moment you begin planning to the moment you turn on the tap in your brand new shower.
Table of Contents
- 1. Planning & Design Stage
- 2. Quote, Budget & Material Selection
- 3. Demolition & Strip-Out
- 4. Plumbing & Electrical Rough-In
- 5. Carpentry & Surface Preparation
- 6. Waterproofing
- 7. Tiling
- 8. Fit-Off (Plumbing, Electrical & Fixtures)
- 9. Final Touches & Clean-Up
- 10. Handover, Testing & Certificates
- Final Thoughts
1. Planning & Design Stage
Every good bathroom starts with a solid plan. This is where you figure out what you want, what’s possible, and how everything will fit together.
Key planning decisions include:
- Bathroom layout
- Shower vs bath or both
- Tile colours and styles
- Vanity style and size
- Lighting placement
- Tapware finishes (black, brushed nickel, chrome, brass)
- Ventilation options
- Storage solutions
If your Central Coast home is older (and many are), this stage may also uncover potential challenges such as old plumbing, uneven floors, or poor ventilation.
Why this stage matters:
Good planning prevents costly changes mid-project and ensures your renovation flows smoothly.
2. Quote, Budget & Material Selection
Once you’ve finalised your design and vision, the next step is getting a detailed and transparent quote.
A good renovation company will provide a quote that includes:
- Demolition
- Plumbing
- Electrical
- Carpentry
- Waterproofing
- Tiling
- Fit-off
- Materials (or clear notes if you’re supplying them)
- Waste removal
- Labour costs
This is also when you make decisions about:
- Tiles
- Vanity and basin
- Tapware
- Shower screen
- Toilet
- Lighting
- Accessories
Choosing everything early ensures no delays once construction begins.
3. Demolition & Strip-Out
Here’s where the real fun begins — demolition! This is when your old bathroom gets completely stripped back, usually to the studs or brickwork.
Demolition includes:
- Removing old tiles
- Pulling out the vanity, toilet, bath or shower
- Removing old waterproofing
- Taking down damaged or outdated sheeting
- Disposing of waste in skip bins
What might be discovered during demolition?
- Old or unsafe wiring
- Water damage
- Termite damage
- Rotted timber
- Asbestos (common in pre-1990 homes)
- Poor-quality DIY work from previous owners
This is why a contingency budget is always recommended — older homes on the Central Coast often hide surprises behind the walls.
4. Plumbing & Electrical Rough-In
Once demolition is complete, the trades step in for the “rough-in” stage.
This includes:
- Plumbing for taps, shower, toilet and vanity
- Drainage adjustments
- Electrical wiring for lights, fans, powerpoints and LED mirrors
- Placement of switches
- Installation of shower niche plumbing (if required)
The rough-in sets the foundation for all the visible bathroom features later. It’s critical that licensed trades handle this stage.
5. Carpentry & Surface Preparation
Before waterproofing and tiling, the bathroom needs to be structurally prepared.
This step may include:
- Re-sheeting walls with moisture-resistant sheeting (e.g., Villaboard)
- Rebuilding or levelling the subfloor
- Framing for shower niches
- Adjusting wall studs for new plumbing fixtures
A smooth and strong base ensures your tiles look perfect and last long-term.
6. Waterproofing
Waterproofing is the most important (and highly regulated) stage of any bathroom renovation.
This involves:
- Applying waterproof membrane to floors and walls
- Two or more coats (per Australian Standards)
- Correct drying time
- Waterproofing certificate provided
Proper waterproofing prevents leaks, mould, water damage and insurance headaches later.
7. Tiling
Next comes one of the most transformative stages — tiling.
The tiler will:
- Lay floor tiles
- Tile walls (usually to the ceiling in modern designs)
- Install feature walls or niches
- Apply grout
- Finish edges with trims
Tile choice has a huge impact on the final look. Larger tiles create a spacious, modern feel, while textured or patterned tiles add character.
8. Fit-Off (Plumbing, Electrical & Fixtures)
Fit-off is when your bathroom starts to look like a bathroom again.
This includes installing:
- Shower screen (frameless or semi-frameless)
- Vanity & basin
- Tapware
- Toilet
- Accessories (towel rails, shelving, robe hooks)
- Lighting & LED mirrors
- Exhaust fan
Plumbers and electricians return to connect everything safely and correctly.
9. Final Touches & Clean-Up
This stage focuses on perfecting the details.
It includes:
- Silicone sealing
- Final grout cleaning
- Touch-up paint
- Deep cleaning
- Final inspection of plumbing and electrical work
A good renovation team will leave your home spotless and ready to use.
10. Handover, Testing & Certificates
The final stage ensures everything works correctly and meets Australian Standards.
You should receive:
- Waterproofing Certificate
- Plumbing Certificate of Compliance
- Electrical Certificate of Compliance
- Warranty information
Handover also includes:
- Testing all fixtures
- Testing drainage
- Ensuring ventilation works properly
- Checking grout, silicone and tile alignment
This is the moment where you get to step inside your brand new bathroom and enjoy the transformation.
Final Thoughts
A bathroom renovation on the Central Coast is a detailed, multi-stage process — but with the right team and thorough planning, it can be exciting, smooth and incredibly rewarding. Whether your home is older and needs structural preparation or a newer build that simply needs modernising, the steps remain the same.
From planning and demolition to waterproofing, tiling and fit-off, each stage plays a crucial role in ensuring your bathroom looks incredible and functions perfectly for years to come.
If you’re looking for a trusted team who handles every stage of the renovation process with professionalism, transparency and high-quality workmanship, we highly recommend Gosford Bathroom Renovations.
Click here to visit Gosford Bathroom Renovations →